How to turn a dart into pleats or gather
Turn a dart into a pleat
You can quickly turn a dart into a pleat or multiple pleats by removing the dart and drawing in notches instead, then add the pleat direction. Fold the paper to check there is enough volume in the pleat, remember the amount will be half the original amount, once the paper is folded.
Combine this technique with adding volume (using the cut and spread method) to make a bigger pleat. Or for tops, move the bust dart into the waist or whichever area you'd like the gather. (If you're interested in learning more about adding volume check out our Intro to Pattern Making course.)
Turn a dart into gather
You can easily turn a dart into gather. Measure the distance without the dart, remove the markings and write the amount of gather onto the pattern. This will ensure the area still measures the same amount as the original seam.
You can choose to add more volume into the pattern if you want to add more gather.
To finish the pattern; 'true' the pleat edge by folding it in the direction it will be sewn and draw over the shape with a tracing wheel. Truing the pleat ensures all the edges of the fabric meet once sewn. You can see an example of the technique used in the video below.
Design Examples - Gather
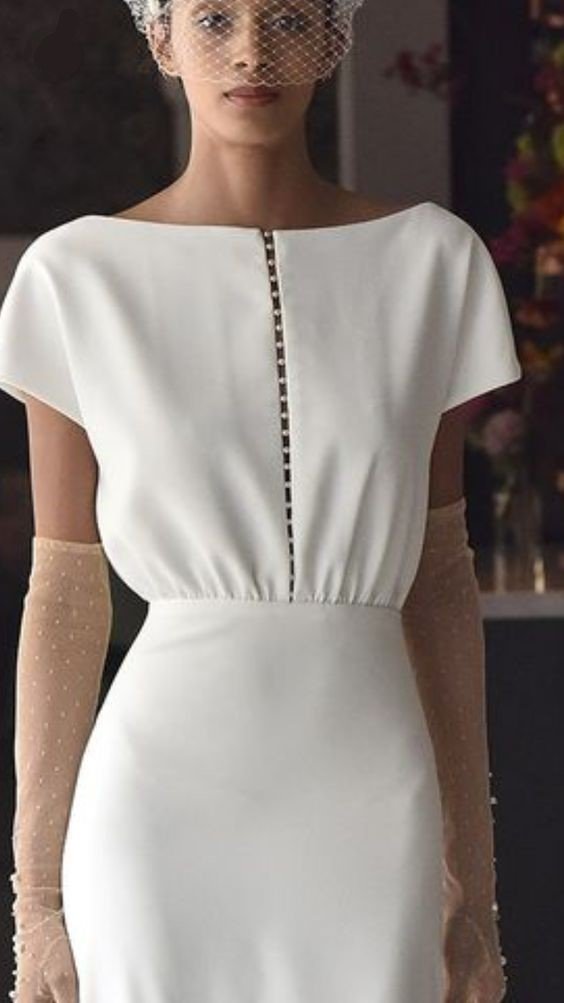
If you move the bust dart into the waist, you can use the extra volume as gather.
The example above likely has some extra volume added to it, but it would depend on the size of the dart and the pattern you start with.
Did you enjoy this tutorial? Let us know if you give it a go and tag us on socials @unpicked.studio using the hashtag - #PatternsUnpicked


