How to add seam allowance
What is seam allowance?
Seam allowance is the extra fabric that is added to the pattern pieces to allow for sewing and finishing the edges. It is the space between the stitching line and the edge of the fabric.
When you're pattern making, we always recommend working without seam allowance (unless you're doing a quick pattern hack) so you can easily work with the pattern's true measurements and save confusion whilst you're pattern making.
What tools do I need?
Adding seam allowance to a pattern is a simple process that requires a few basic tools:
Ruler - we recommend a pattern master* or you can use a grading/quilting ruler
Mechanical Pencil
Pattern paper
Scissors
What is a pattern master?
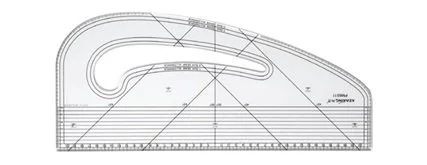
A pattern master is an essential tool for pattern making which allows you to draw curves and lines as well as adding seam allowance and 'squaring off' a pattern.
It's perfect for drafting patterns and making alterations, they usually have 40cm measurement on the straight edge and a 45 / 90 degree lines for bias binding and squaring off or truing patterns.
How to add seam allowance
Follow these steps and watch the video people to learn how to add seam allowance to your patterns:
Step 1: Decide the seam allowance width
Before adding seam allowance, you need to decide on the width. The common seam allowance widths are 1cm (3/8 in), 1.2cm (1/2in) or 1.5cm (5/8 in), but it can vary depending on the project, area of the pattern or personal preference.
Step 2: Trace the pattern
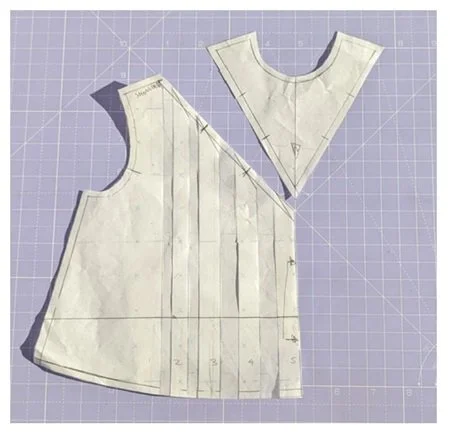
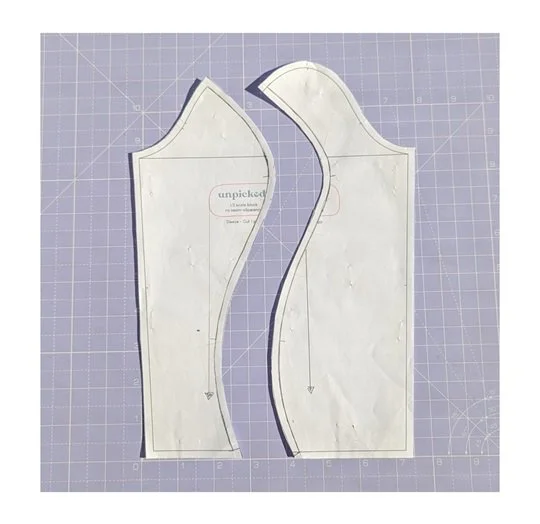
If necessary, trace the pattern by placing your pattern on a clean sheet of pattern paper and trace around the edges using a pencil or pen. Make sure to transfer all the markings and notches accurately.
Step 3: Add seam allowance
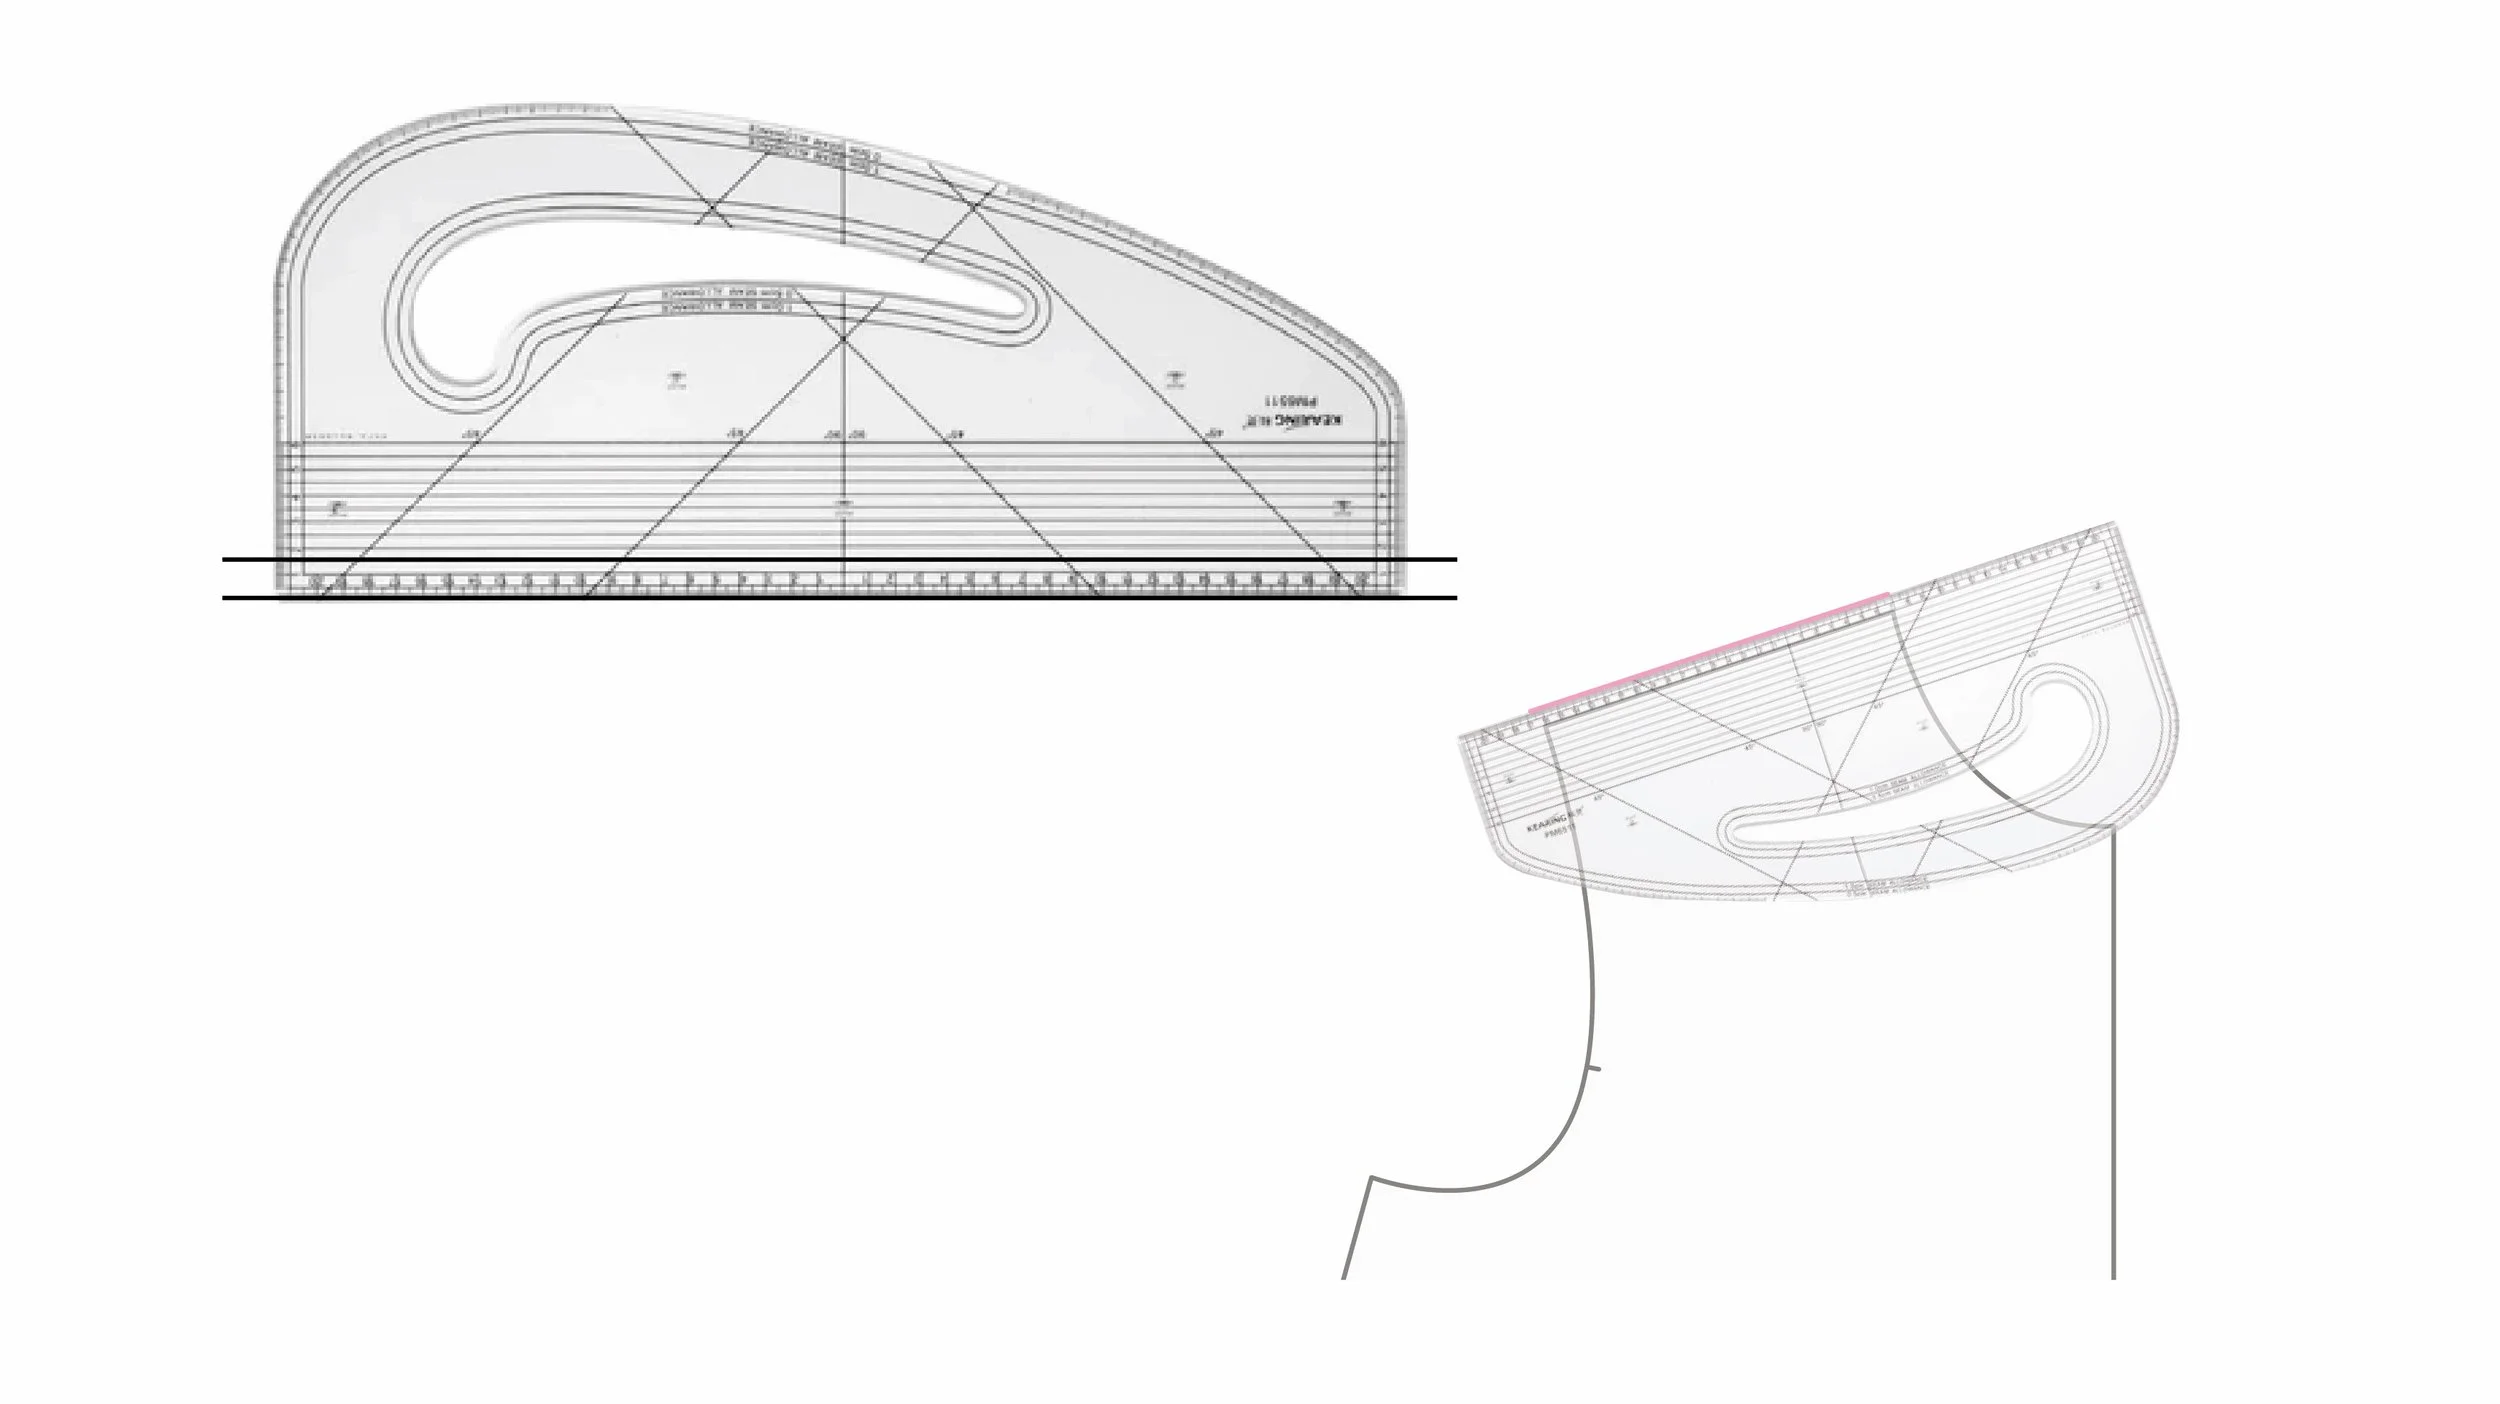
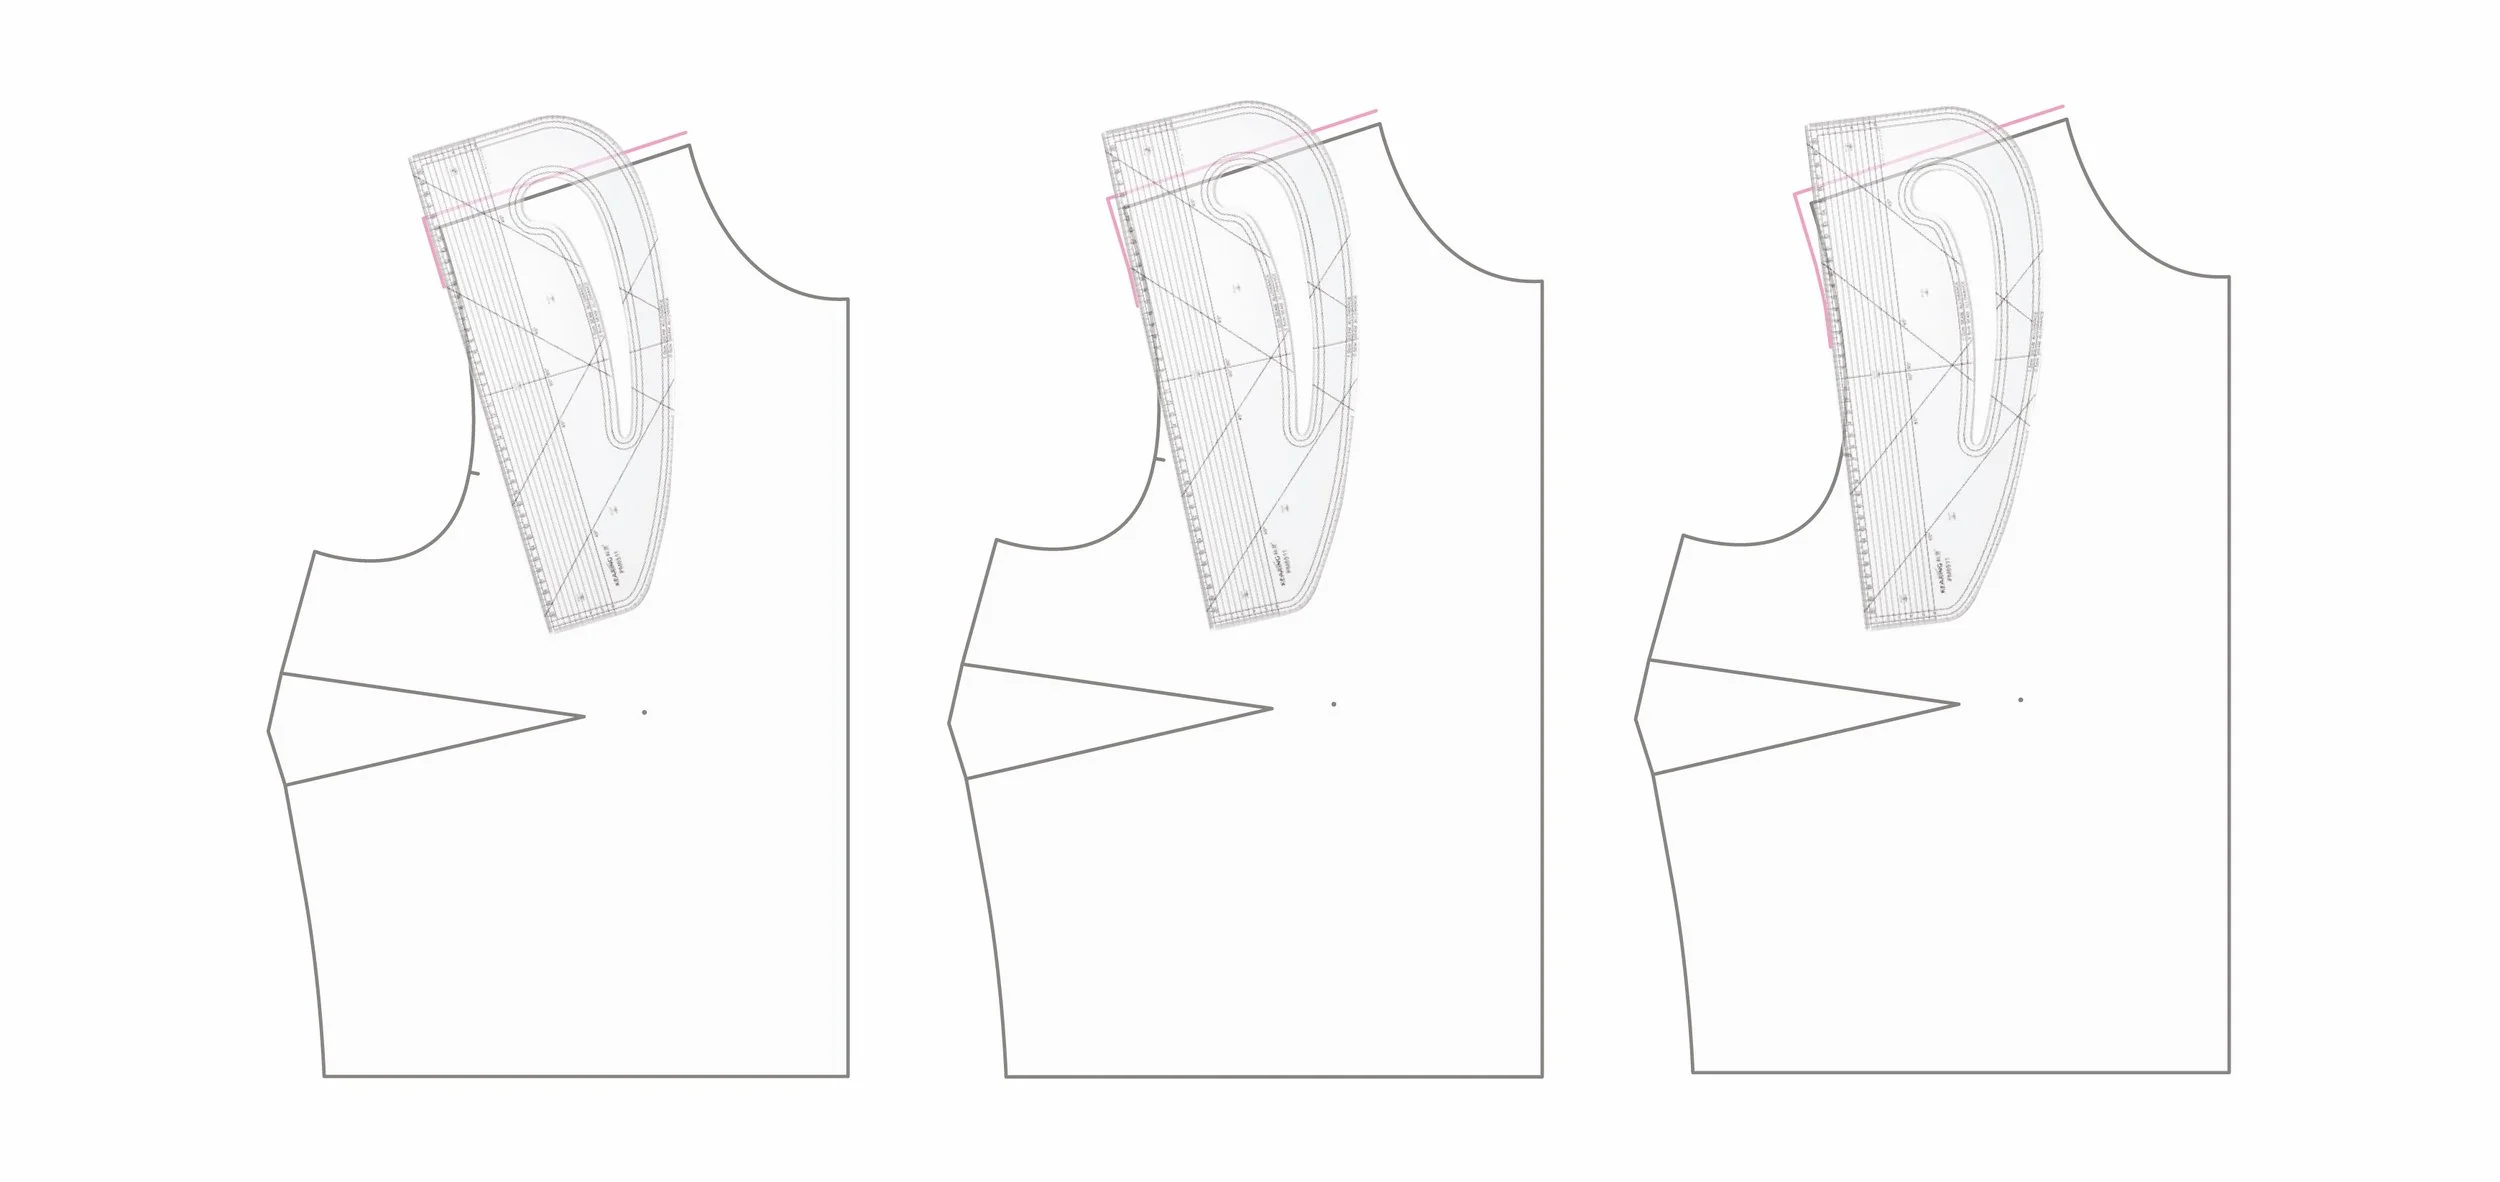
Use the guides (drawn in different increments) on the pattern master or ruler to add seam allowance.
If you have a curved line, match the line on the pattern master with the stitch line and pivot the pattern master when it no longer hits the stitch line.

